Introduction
Have you ever struggled to find a bathroom vanity that fits your space, storage needs, and budget? When you build your own bathroom vanity, you can choose the cabinet dimensions, materials, sink style, and finish to match your bathroom. This guide covers the planning process, essential tools, cabinet construction, countertop installation, and waterproofing. You’ll also learn about common mistakes and project costs before deciding whether a DIY vanity is right for you.
Table of Contents
1. Is Building Your Own Bathroom Vanity Worth It?
Building a bathroom vanity yourself can be worthwhile if you want custom storage, a specific design, or a cabinet that fits an unusual bathroom layout. The project may also save money, but the final cost depends on your material choices, available tools, woodworking skills, and whether you need professional help.
DIY Bathroom Vanity Benefits
One major benefit is control over the design. You can choose the cabinet width, drawer arrangement, finish, countertop, and hardware to suit your bathroom rather than adjusting your space to fit a ready-made unit.
A custom bathroom vanity design can be especially useful in smaller bathrooms where standard cabinets leave awkward gaps or provide too little storage. For example, a homeowner with a 31-inch-wide space might build a cabinet that fits the available area more closely than an off-the-shelf model.
Other advantages include:
- Personalized storage: Add deep drawers, adjustable shelves, or a separate area for cleaning supplies.
- Choice of materials: Select plywood, solid wood, or other suitable cabinet materials based on your budget and preferred appearance.
- Flexible finishes: Match the cabinet to existing bathroom colors, flooring, and fixtures.
- Repair options: Replace individual doors, drawer fronts, or hardware instead of replacing the entire cabinet.
However, DIY construction takes time and careful work. Uneven cuts, weak joints, or poor moisture protection can lead to problems that cost money to correct.
Cost Savings vs. Buying a Vanity
Building your own unit can reduce the cost of the cabinet itself, particularly if you already own basic woodworking tools. However, savings are not guaranteed because the sink, countertop, plumbing fixtures, hardware, and finishing products can add up quickly.
Before starting, compare the expected project budget with the price of a ready-made vanity of similar size and quality. Include materials, tool purchases, delivery charges, and any professional installation costs.
For example, if you need to purchase a saw and several clamps for a single project, buying a preassembled cabinet may be more practical. If you already have a workshop and want a nonstandard design, building your own may offer better value.
Consider Your Bathroom Size and Skill Level
Your available space and experience should guide the decision. A simple cabinet with one sink is generally more manageable for a first-time woodworker than a large double-sink unit with multiple drawers and complicated plumbing.
Measure the space carefully and review this guide to 18-inch bathroom vanities if you have a small bathroom or limited room to work with. Consider the following before committing:
- Is there enough room to open cabinet doors and drawers?
- Can the cabinet accommodate the existing drain and water supply lines?
- Do you have a level work surface and the tools needed for accurate cuts?
- Can you protect the cabinet from water splashes and bathroom humidity?
- Does your budget cover unexpected material waste or replacement parts?
If the design requires moving plumbing, cutting a stone countertop, or making structural changes, professional assistance may be worthwhile. You should also check local permit requirements when plumbing or other regulated work is involved.
2. What Materials and Tools Do You Need to Build a Bathroom Vanity?
You need suitable cabinet materials, reliable fasteners, moisture-resistant finishes, and basic woodworking tools to build a sturdy bathroom vanity. The exact supplies depend on the cabinet dimensions, storage design, countertop, sink type, and your level of experience.
Choosing the Right Bathroom Vanity Materials
The cabinet material affects durability, appearance, and how well the finished unit handles moisture. Bathrooms experience regular humidity and occasional water splashes, so materials should be selected with their intended use in mind.
Plywood: Good-quality plywood is a practical choice for cabinet sides, shelves, and structural panels. It offers a stable construction option, and its finished surfaces can be painted, stained, or covered with veneer. Use panels suitable for the intended environment, and seal exposed edges carefully.
Solid wood: Maple, oak, and other suitable hardwoods work well for face frames, doors, and decorative details. Solid wood can be attractive and repairable, but it expands and contracts with changes in humidity. Allow for this movement during construction and apply an appropriate protective finish.
Moisture-resistant panels: Certain engineered panels are designed to handle humid conditions better than standard products. However, moisture resistance does not mean waterproof. Check the manufacturer’s specifications and protect cut edges, joints, and areas around plumbing.
Avoid assuming that every product labeled moisture-resistant is suitable for constant water exposure. Even durable cabinet materials can swell or deteriorate if water enters unsealed joints.
Screws, Wood Glue, Hardware, and Countertop Materials
The fasteners and fittings help determine how stable and convenient the cabinet will be. Choose products that suit the material thickness, cabinet design, and bathroom conditions.
Your materials list may include:
- Cabinet screws and suitable wood screws for joining panels.
- Wood glue rated for the intended application.
- Cabinet hinges, drawer slides, and handles.
- Shelf supports and mounting brackets where required.
- A countertop made from a suitable material, such as quartz, granite, or a bathroom-rated laminate.
- Sink mounting supplies, faucet fittings, and an appropriate sealant.
- Primer, paint, stain, or a protective clear finish suitable for the cabinet material.
Choose the sink and countertop before finalizing the cabinet dimensions. Different sink styles require different openings, clearances, and support arrangements. An undermount sink, for instance, needs a compatible countertop and secure mounting, while a vessel sink changes the finished height of the basin.
Essential Woodworking Tools and Safety Equipment
Accurate measurements and clean cuts are important for a cabinet that sits level and holds its doors and drawers correctly. You do not need a large professional workshop for a simple design, but you should have the right equipment for the work.
Essential tools include:
- Tape measure, pencil, and combination square.
- Level for checking the cabinet and installation surface.
- Circular saw or table saw for cutting panels.
- Drill and driver with suitable bits.
- Clamps for holding pieces during assembly.
- Sander and sandpaper for preparing surfaces.
- Safety glasses, hearing protection, and a suitable dust mask or respirator for the task.
A first-time builder can simplify the work by having a lumber supplier cut large panels to the required dimensions, where that service is available. You will still need to verify every measurement before assembly.
Before cutting or drilling, secure the material and follow the tool manufacturer’s safety instructions. Keep electrical tools away from water, and never begin plumbing work until the water supply is shut off when required.
Finally, prepare a written materials list based on your design rather than buying supplies at random. This helps control waste, keeps the project budget realistic, and makes the building process easier to manage.
3. How Do You Measure and Plan Your Bathroom Vanity?
Accurate measurements and a clear cabinet plan help you build a bathroom vanity that fits your space, accommodates the plumbing, and provides enough storage. Before cutting any wood, measure the available area, choose the sink style, and decide where the doors, drawers, and countertop will sit.
Measure the Bathroom Vanity Dimensions
Start by measuring the width of the available wall space, the distance from the wall to nearby fixtures, and the height you want for the finished countertop. Record every measurement rather than relying on estimates.
Common bathroom vanity dimensions in US homes include:
- Width: 24–36 inches for many compact and standard single-sink cabinets, with larger sizes available.
- Depth: Around 21 inches for many standard cabinets, although smaller bathrooms may need a shallower design.
- Height: Approximately 30–36 inches, depending on the existing setup and preferred countertop height.
These are planning ranges, not fixed requirements. Your sink style, countertop thickness, user comfort, and bathroom layout may change the final dimensions.
For a closer look at typical measurements, see this guide to common bathroom vanity sizes. It can help you choose suitable cabinet dimensions before preparing your cutting list.
Choose a Single-Sink or Double-Sink Layout
Your sink arrangement determines how much room remains for storage and countertop space. A single-sink vanity is often easier to plan because it needs only one basin opening and a simpler cabinet layout.
A double-sink vanity requires enough width for two basins, faucet positions, and usable counter space between or beside them. A cabinet around 60 inches wide is a common starting point, but the exact dimensions depend on the sinks and their placement.
Before choosing a layout, consider:
- How many people use the bathroom each day.
- Whether you need more drawers or more open cabinet space.
- Where the sink drains and water supply lines enter the cabinet.
- Whether cabinet doors or drawers will hit nearby walls or fixtures.
For example, a 36-inch single-sink cabinet may suit a guest bathroom, while a shared primary bathroom may benefit from a wider design if the available floor space allows it.
Check Sink Placement and Plumbing Clearance
Measure the location of the drainpipe and hot and cold water supply lines before finalizing the cabinet design. Their positions affect the sink opening, back panel, drawer depth, and usable storage area.
If the plumbing sits near the center of the cabinet, you may need a cutout in the back panel or a modified drawer arrangement. Keep enough room for the drain assembly and P-trap, and make sure the cabinet can be installed without pressing against the pipes.
Also check the finished countertop depth. A cabinet body measuring 21 inches deep may extend farther into the room once the countertop overhang is included. Review this guide to standard bathroom vanity depth before settling on your measurements.
Draw a Vanity Design Plan
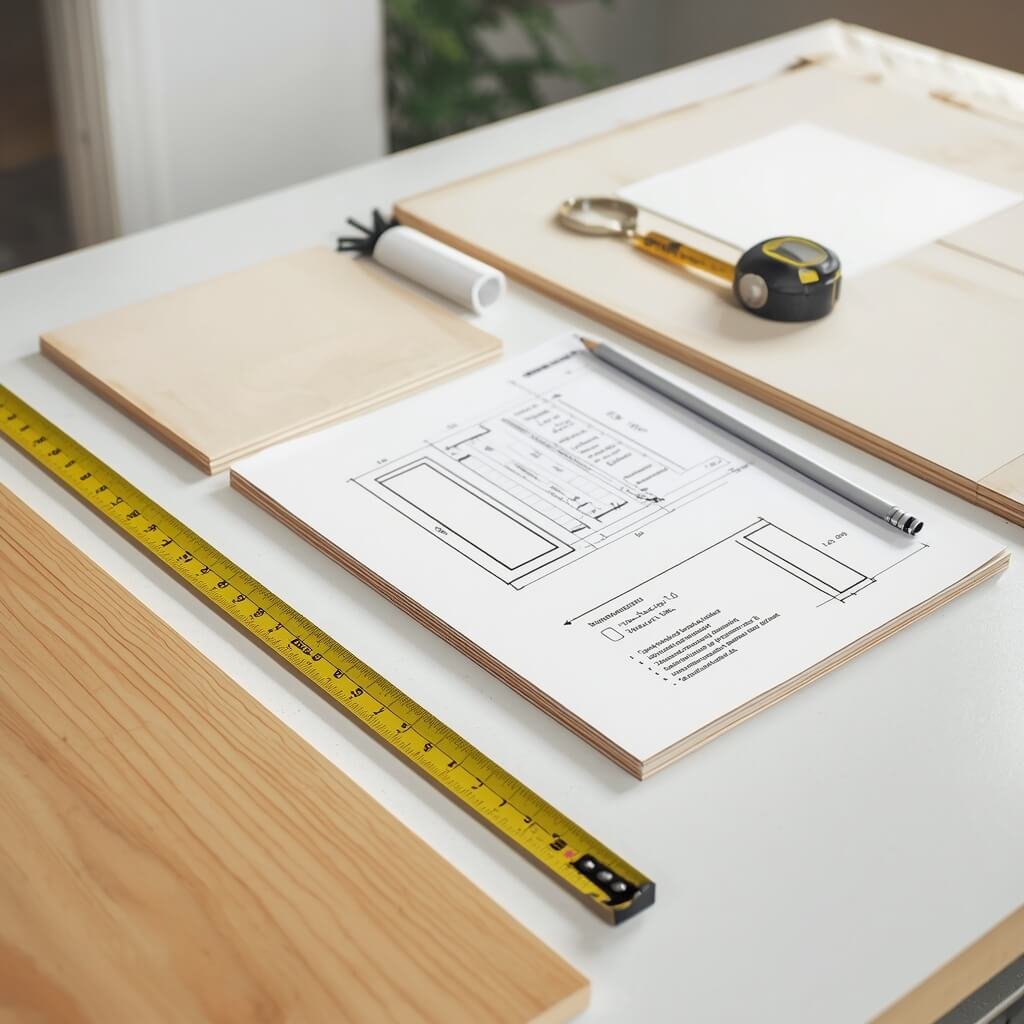
A simple drawing can prevent expensive mistakes during construction. Sketch the cabinet from the front and side, then mark its width, height, depth, sink position, doors, drawers, and internal shelves.
Your vanity design plans should include:
- The outside dimensions of the cabinet.
- The thickness of the plywood or solid wood panels.
- The position of the sink and faucet.
- The plumbing access area.
- Door openings, drawer sizes, and countertop overhang.
- The finished countertop height.
Calculate the panel sizes only after accounting for material thickness and joinery. For instance, if a cabinet has two side panels and a top or bottom panel fitted between them, the inside panel dimensions will differ from the cabinet’s overall width.
Keep your drawing and measurements together as a reference throughout the project. A few minutes of planning can save you from cutting replacement panels or discovering that a drawer blocks the drainpipe.
4. How Do You Build the Bathroom Vanity Cabinet Frame?
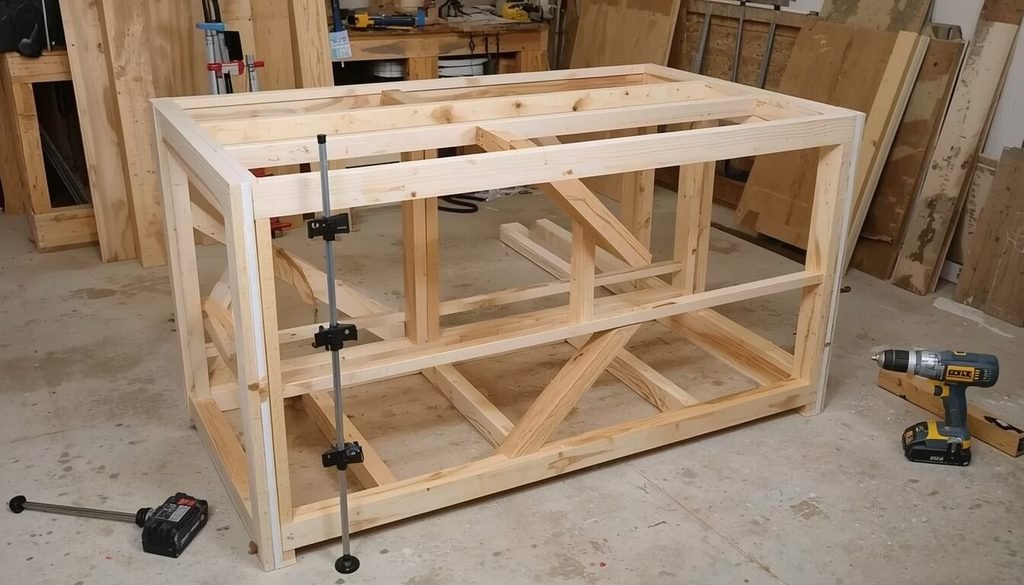
To build your own bathroom vanity, start by cutting the cabinet panels to the planned dimensions, then assemble the base with suitable fasteners and reinforced joints. Check that the frame is square and level before adding doors, drawers, or a countertop.
Cut the Cabinet Panels to Size
Use your cutting list to prepare the side panels, bottom panel, support rails, and any shelves required by the design. Plywood is a practical option for many cabinet structures because it provides a stable panel surface and can be finished to suit the bathroom.
Measure each piece twice before cutting. Label the panels so you know which side faces inward and where each component belongs during assembly.
For cleaner results:
- Use a square to mark straight cutting lines.
- Support the sheet material properly while cutting.
- Follow the recommended blade settings for your saw.
- Sand rough edges before joining the panels.
- Check that matching pieces have the same dimensions.
If you do not have enough space to handle full plywood sheets, ask a local lumber supplier whether it can cut the panels to your measurements.
Assemble the Vanity Base
Place the cabinet sides on a flat work surface and attach the bottom panel and support rails according to your plan. Use suitable cabinet screws and wood glue where appropriate for the material and joint design.
Pre-drilling screw holes can help reduce splitting, especially near panel edges. Keep the pieces aligned while tightening the fasteners, and avoid overtightening screws that could damage the material.
Leave the back open or cut a planned access opening if the plumbing layout requires it. However, do not remove structural panels or supports without providing another suitable way to maintain the cabinet’s strength.
Install Cabinet Supports and Structural Braces
The vanity frame must support the countertop, sink, doors, and stored bathroom items without shifting or sagging. Add support rails or braces where needed, particularly around the upper cabinet edges and the areas beneath a heavy countertop.
The required support depends on the cabinet design and the weight of the materials being used. A stone countertop, for example, may need a stronger support arrangement than a lightweight laminate top.
Pay attention to the following details:
- Reinforce joints that carry substantial weight.
- Keep the cabinet base stable and evenly supported.
- Follow the countertop manufacturer’s support requirements.
- Use appropriate mounting hardware for the intended installation.
- Protect exposed panel edges from moisture before final assembly, where practical.
If you plan to use solid wood, remember that wood can expand and contract as humidity changes. Choose suitable joinery and finishing methods rather than locking every component together in a way that prevents natural movement.
Check Alignment, Level, and Stability
Before moving to the next stage, measure the cabinet diagonally from corner to corner. If the two diagonal measurements match, the frame is generally square, although you should still check each corner and joint.
Place a level across the top and along the sides to identify uneven areas. Correct any alignment problems while the joints are still accessible.
The frame should sit firmly without rocking, and the planned doors and drawers should have enough space to operate. If the vanity will be attached to the wall, identify suitable mounting points and follow the cabinet manufacturer’s or a qualified professional’s guidance for the wall type and expected load.
Do not install a heavy countertop on an unstable frame. Fixing alignment problems now is easier than correcting a crooked vanity after the sink and plumbing are in place.
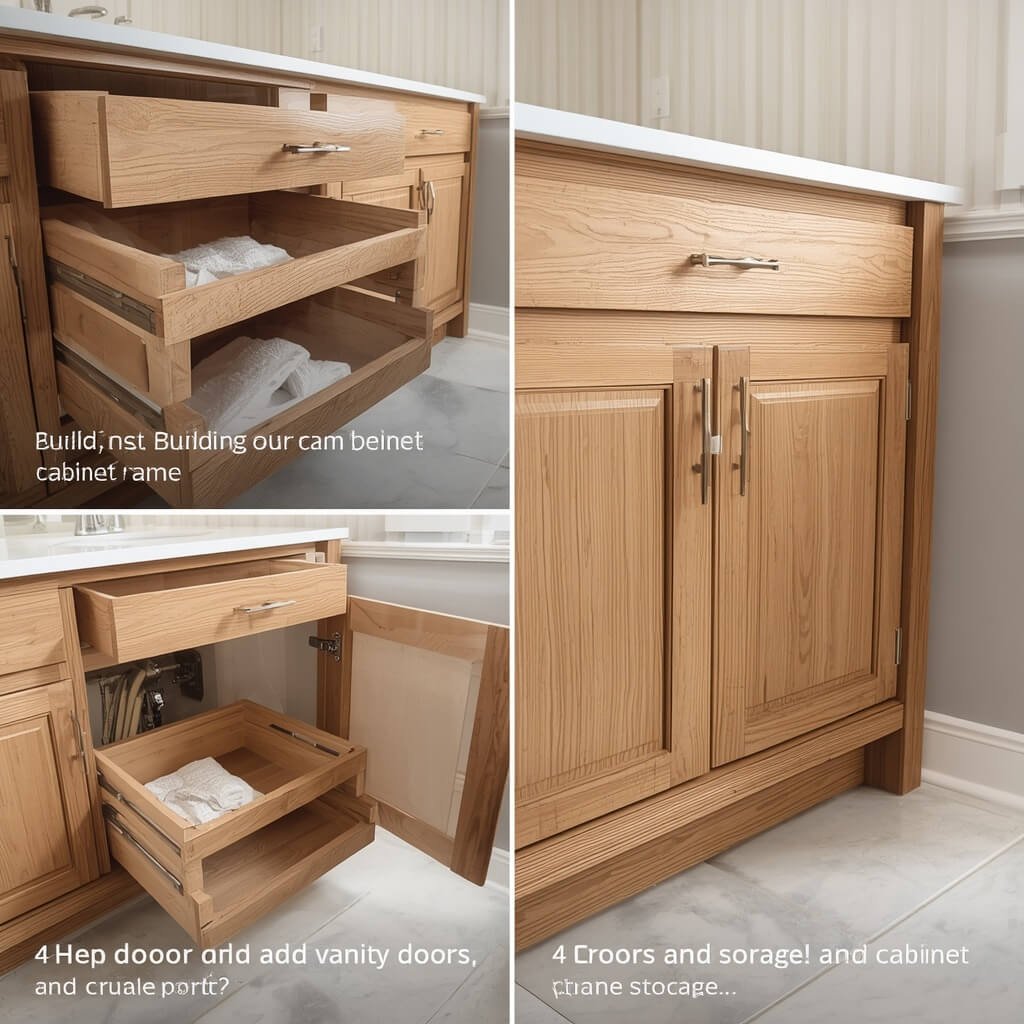
5. How Do You Add Vanity Doors, Drawers, and Storage?
Add doors, drawers, and shelves after the cabinet frame is square and stable. Measure the openings carefully, select hardware that fits the design, and arrange the interior around the plumbing so the finished vanity offers useful storage without obstructing everyday access.
Build the Cabinet Doors and Drawer Boxes
Cabinet doors can be made from solid wood, suitable plywood, or other cabinet-grade materials, depending on the appearance and construction you want. Drawer boxes need sturdy joints and accurate dimensions so they slide smoothly without rubbing against the cabinet sides.
Measure each opening after assembling the frame rather than relying only on the original drawing. Small differences during construction can affect the final door and drawer sizes.
When planning the storage layout, consider:
- One or two doors beneath the sink.
- Shallow drawers for grooming supplies.
- Deeper drawers for towels and larger bathroom items.
- A combination of drawers and doors where space permits.
Keep the drainpipe and supply lines in mind when deciding how far a drawer can extend into the cabinet. A cutout or modified drawer box may be necessary to make room for the plumbing.
Install Hinges, Drawer Slides, and Handles
Choose hinges and drawer slides based on the door style, drawer dimensions, and cabinet material. Soft-close hardware is an option if you want quieter operation, but standard hardware can also work well when installed correctly.
Follow the hardware manufacturer’s measurements for screw placement and clearances. Use the recommended screws and avoid placing fasteners too close to panel edges.
Install the doors first, then adjust the hinges so the gaps around them look even. Fit the drawer slides level and parallel to each other before inserting the drawer boxes.
Once the hardware is installed, open and close every door and drawer several times. Check for rubbing, uneven gaps, loose handles, or movement that could indicate a fitting problem.
Add Shelves and Practical Bathroom Storage
Interior storage should reflect what you plan to keep inside the cabinet. Adjustable shelves are useful when the items stored in the vanity change, while fixed shelves can provide a simple and sturdy arrangement.
For better everyday use, consider these options:
- Adjustable shelves: Suitable for toiletries, spare towels, and cleaning supplies.
- Divided drawers: Help organize small grooming products and accessories.
- Plumbing cutouts: Preserve space around the drain and water lines.
- Open compartments: Make frequently used items easier to reach.
- Protective shelf liners: Help keep cabinet surfaces clean, although they do not replace proper moisture protection.
If you prefer an open design rather than a fully enclosed cabinet, review these open shelf bathroom vanity ideas for inspiration on combining accessible storage with a clean appearance.
Check Door Alignment and Drawer Clearance
Before applying the final finish, confirm that every door and drawer moves freely. Check the gaps around the doors, make sure drawer fronts sit evenly, and tighten any loose hardware.
Also test the clearance around the sink and plumbing. A drawer that looks fine when the cabinet is empty may strike a pipe or drain fitting when fully closed.
Make any necessary adjustments before installing the countertop and sink. Finally, sand exposed edges, remove dust, and prepare the cabinet surfaces for a suitable bathroom finish. Proper finishing helps protect the materials from routine splashes and humidity while keeping the cabinet looking neat.
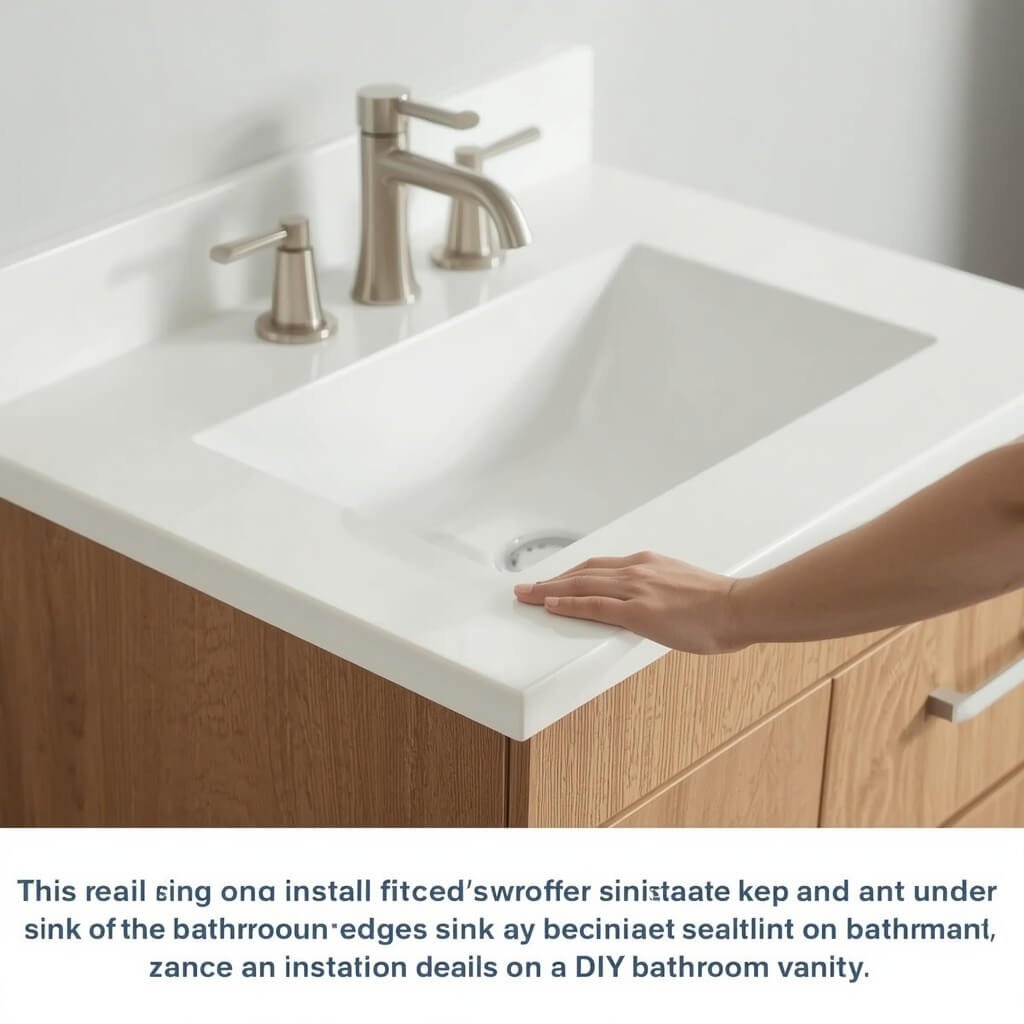
6. How Do You Install the Bathroom Vanity Top and Sink?
Choose a countertop that suits your cabinet’s strength and bathroom use, then install the sink according to its manufacturer’s instructions. Accurate sink openings, proper support, and sealed joints help prevent leaks and protect the cabinet from water damage.
Choose the Right Bathroom Vanity Countertop
Quartz, granite, laminate, and butcher block are common countertop options. Compare their weight, maintenance needs, appearance, and moisture resistance before making a decision.
- Quartz: Offers a nonporous surface and requires little routine sealing.
- Granite: Provides a natural stone appearance but may require periodic sealing.
- Laminate: Is often lightweight and budget-friendly, although exposed edges need protection from water.
- Butcher block: Adds natural wood character but needs a suitable waterproof finish and regular maintenance.
For more guidance, explore these granite vanity top options before selecting a surface.
Install the Countertop and Fit the Sink
Dry-fit the countertop first to confirm that it sits evenly on the cabinet. Follow the countertop manufacturer’s instructions for fastening and support, especially when using heavy stone.
Choose the sink style before cutting any openings:
- Drop-in sink: Fits into a countertop opening, with its rim resting on the surface.
- Undermount sink: Attaches beneath a compatible countertop and requires suitable support.
- Vessel sink: Sits above the countertop, so its height affects the finished vanity height.
For example, a vessel basin that rises 5 inches above the counter needs a lower cabinet or countertop height than a typical inset sink to achieve a comfortable finished height.
Plan Faucet Holes and Plumbing Connections
Check the faucet specifications before drilling holes. Some faucets require one hole, while others need separate openings for the handles. Use the sink or countertop template where provided, and confirm that the faucet reach matches the basin.
Install the drain assembly and faucet according to their instructions. Apply compatible sealant only where required, and allow it to cure before exposing the joint to water.
7. How Do You Waterproof and Finish a DIY Bathroom Vanity?
Prepare the cabinet surfaces carefully, then apply a finish suitable for bathroom humidity and occasional splashes. Sealed edges, protected joints, and quick attention to leaks help extend the life of wood cabinets.
Sand and Prepare the Wood
Sand rough areas and edges, then remove dust before applying primer, stain, or sealant. Follow the product instructions for surface preparation and drying conditions.
Apply a Bathroom-Suitable Finish
Paint, stain, and clear protective coatings can all work when selected for the material and intended exposure. Use a suitable primer under paint, and allow every coat to dry fully before adding another.
Protect Cabinet Edges Against Moisture
Pay particular attention to cut edges, screw holes, joints, and areas beneath the sink. These spots can absorb water if left unprotected. Seal countertop and sink joints with a compatible product recommended for the installation.
For material-specific advice, see this guide to choosing MDF for a bathroom vanity.
8. How Do You Install and Secure Your Homemade Bathroom Vanity?
Position the finished cabinet, level it carefully, and secure it using suitable mounting hardware before connecting the sink plumbing. Proper installation helps prevent cabinet movement, damaged pipe connections, and water leaks.
Position and Level the Cabinet
Move the cabinet into place and check it with a level. Use suitable shims to correct an uneven floor, and confirm that doors and drawers open without hitting nearby fixtures.
Secure the Vanity to Wall Studs
Locate the wall studs and use appropriate fasteners to secure the cabinet according to its design. Floating vanities need a mounting system rated for the expected load; ordinary drywall anchors alone may not provide adequate support.
Connect the Faucet, Drain, and Water Supply
Reconnect the faucet supply lines, drain assembly, and P-trap using compatible fittings. If you are unfamiliar with these connections, follow this bathroom vanity plumbing installation guide for the main steps and safety precautions.
Seal the Joints and Check for Leaks
Apply compatible sealant where the countertop meets the wall or where the sink instructions require it. Restore the water supply slowly, run the faucet, and inspect every connection for drips. Check again after using the sink and correct any leaks promptly.
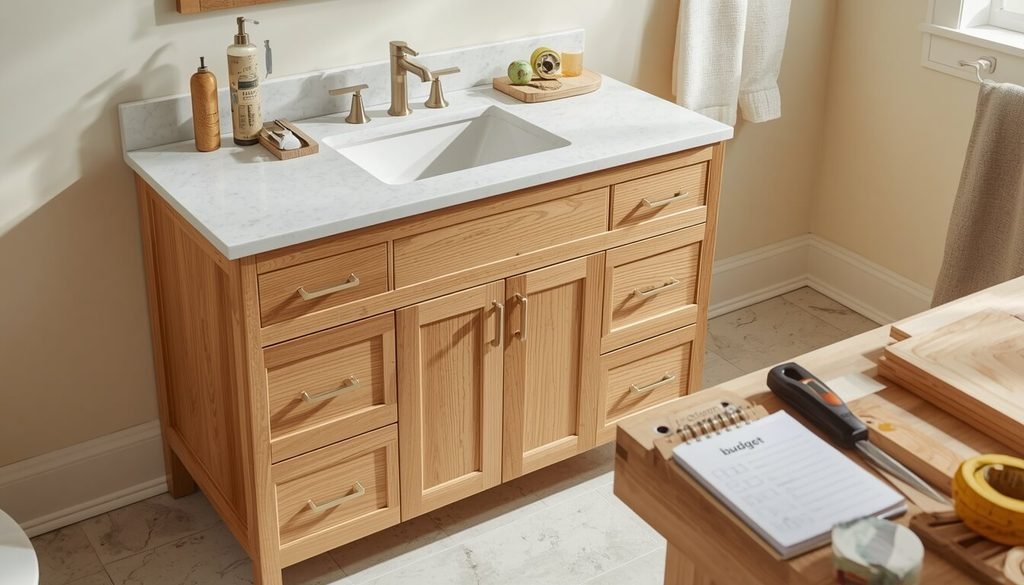
9. How Much Does It Cost to Build Your Own Bathroom Vanity?
The cost depends on cabinet materials, countertop choice, sink and faucet expenses, hardware, and whether you already own the necessary tools. Planning the full project budget before buying supplies helps you compare a custom-built cabinet with a ready-made vanity and avoid unexpected expenses.
Estimate the Material Costs
Include plywood or solid wood, screws, glue, hinges, drawer slides, paint, and protective finishes in your materials budget. Add the countertop, sink, faucet, drain fittings, and mounting supplies separately so you can see where most of your money will go.
Include Tools and Professional Labor
If you already own a drill, saw, clamps, and measuring tools, your initial expenses may be lower. Otherwise, account for tool purchases or rental fees. You may also need a plumber or countertop installer for work that requires specialist skills.
Compare DIY and Ready-Made Options
Compare cabinets of similar size, material quality, and storage capacity rather than comparing only the lowest prices. A custom design may offer a better fit, while a preassembled cabinet can save construction time.
Include These Costs in Your Budget
Your total may also include delivery, waste disposal, replacement fittings, and repairs discovered during installation. Keep a small contingency for unexpected expenses, particularly if you are replacing an older cabinet.
For a more detailed breakdown of labor, removal, and plumbing expenses, read HomeVanityHub’s bathroom vanity installation cost guide.
10. What Common Mistakes Should You Avoid When Building a Bathroom Vanity?
The most common DIY mistakes include inaccurate measurements, weak cabinet joints, unsuitable materials, and poor moisture protection. Careful planning and checking each stage before moving forward can help prevent expensive repairs.
Incorrect Measurements and Plumbing Placement
Measure the wall, floor space, countertop, sink opening, and plumbing connections before cutting any panels. Remember to account for countertop overhang and the space needed to open drawers and doors.
A cabinet that is even 1 inch too deep may obstruct a narrow walkway or interfere with a nearby fixture. Check the measurements again before assembly.
Using Unsuitable Materials in Damp Areas
Standard materials can deteriorate when water repeatedly enters unsealed edges or joints. Choose suitable cabinet materials and protect exposed surfaces with an appropriate finish.
The EPA’s guidance on bathroom moisture explains why controlling moisture and fixing leaks matter for preventing mold and damage.
Weak Construction and Poor Wall Support
Loose joints, inadequate braces, and unsuitable wall fasteners can make a vanity unstable. Reinforce the cabinet where needed, follow countertop support requirements, and secure the unit using hardware appropriate for the wall and expected load.
Do not rely on drywall alone to support a heavy or floating cabinet.
Inadequate Waterproofing and Finishing
Leaving raw edges, screw holes, and sink joints unprotected can allow moisture to enter the cabinet. Prepare the surfaces properly, apply a suitable finish, and seal joints according to the material and fixture instructions.
Inspect the area beneath the sink regularly and repair leaks promptly.
Ignoring Building Requirements and Plumbing Concerns
Check local requirements before changing drainpipes, water supply lines, or electrical connections. Use a qualified professional when the work exceeds your skills or requires a licensed contractor.
Final tip: Take your time with measurements, frame assembly, and moisture protection. These steps have a direct effect on the cabinet’s stability, appearance, and long-term performance.
Conclusion
Choosing to build your own bathroom vanity can help you create a cabinet that fits your space, storage needs, and preferred style. Careful measurements, suitable materials, strong construction, and proper moisture protection are essential for lasting results. Before starting, set a realistic budget and assess your woodworking skills. A simple design is often the best choice for beginners, while complex cabinets may require professional help. Plan carefully, work safely, and build a vanity that suits your bathroom.
FAQs
1. Is it cheaper to buy or build a bathroom vanity?
Building a vanity can be cheaper if you already own the tools and choose affordable materials. Buying a ready-made vanity may cost less overall when you factor in tools, time, and installation.
2. How hard is it to build your own bathroom vanity?
It depends on your woodworking skills and design. A simple cabinet is manageable for beginners, while complex drawers, stone countertops, and plumbing changes require more experience.
3. How much would it cost to build my own vanity?
The cost depends on the cabinet materials, countertop, sink, faucet, hardware, and tools. Prepare a budget based on your design and include extra funds for unexpected expenses.
4. Can I build my own bathroom vanity online?
Yes. You can find online tutorials, design plans, and measurement guides to help plan your project. However, the actual cabinet must be built and installed using suitable tools and materials.
5. How do you build a cheap bathroom vanity?
Choose a simple design, use affordable cabinet-grade plywood, keep the drawer layout basic, and reuse suitable hardware when possible. Protect all exposed edges against moisture.
6. What is the best material to build a bathroom vanity from?
Good-quality plywood is a practical choice for many bathroom vanity cabinets. Solid wood also works well for doors and frames, provided it is properly finished and protected from moisture.