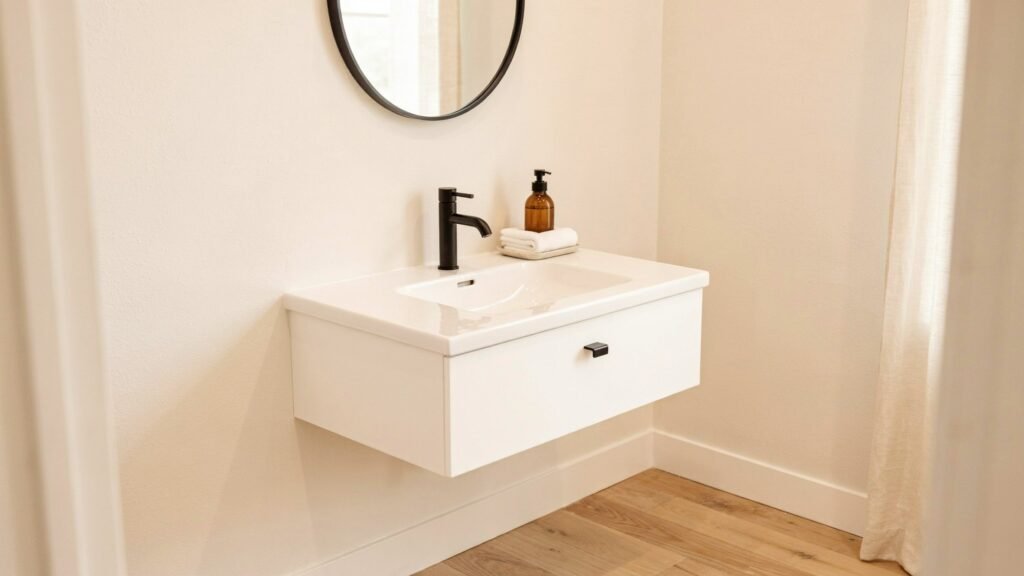
Choosing an accessible bathroom vanity involves more than selecting the right cabinet or countertop. The vanity must provide appropriate clearance, allow comfortable access to the sink, and support safe everyday use for people with disabilities, including wheelchair users.
The ADA bathroom vanity requirements address important details such as sink height, clear floor space, knee and toe clearance, faucet controls, and exposed plumbing. These specifications help make covered bathrooms more accessible and practical.
ADA bathroom vanity requirements can vary depending on the type of building and the accessibility standards that apply. Public restrooms and other covered facilities may need to meet specific ADA guidelines, while private homes can be subject to different rules. Before starting a bathroom renovation, check the applicable federal, state, and local building codes to determine which accessibility requirements your project must follow.
Table of Contents
What Are the Main ADA Bathroom Vanity Requirements?
An accessible bathroom vanity must meet the applicable requirements for the lavatory, approach space, and surrounding features. A decorative vanity may look suitable but still create barriers if the cabinet blocks wheelchair access or the sink is installed too high.
Under the 2010 ADA Standards for Accessible Design, Section 606 covers lavatories and sinks. The main considerations include:
- Countertop height: The higher of the sink rim or countertop surface must be no more than 34 inches above the finished floor, subject to applicable exceptions.
- Clear floor space: Provide the required space for a forward approach to the accessible lavatory.
- Knee and toe clearance: Keep the required area beneath the sink open and unobstructed.
- Faucet controls: Ensure the controls meet applicable accessibility requirements for operation.
- Exposed plumbing protection: For an accessible bathroom vanity, insulate or cover exposed water supply lines and drainpipes to reduce the risk of burns or injury. Also, ensure the underside of the sink is free from sharp edges and abrasive surfaces to support safe, comfortable use.
- Mirror placement: Follow the applicable mounting-height requirements when a mirror is provided.
These details work together. Meeting the height requirement alone does not make an entire vanity accessible.
For the authoritative technical specifications, consult the official 2010 ADA Standards for Accessible Design, particularly Sections 305, 306, and 606.
How High Can an ADA-Compliant Bathroom Vanity Be?
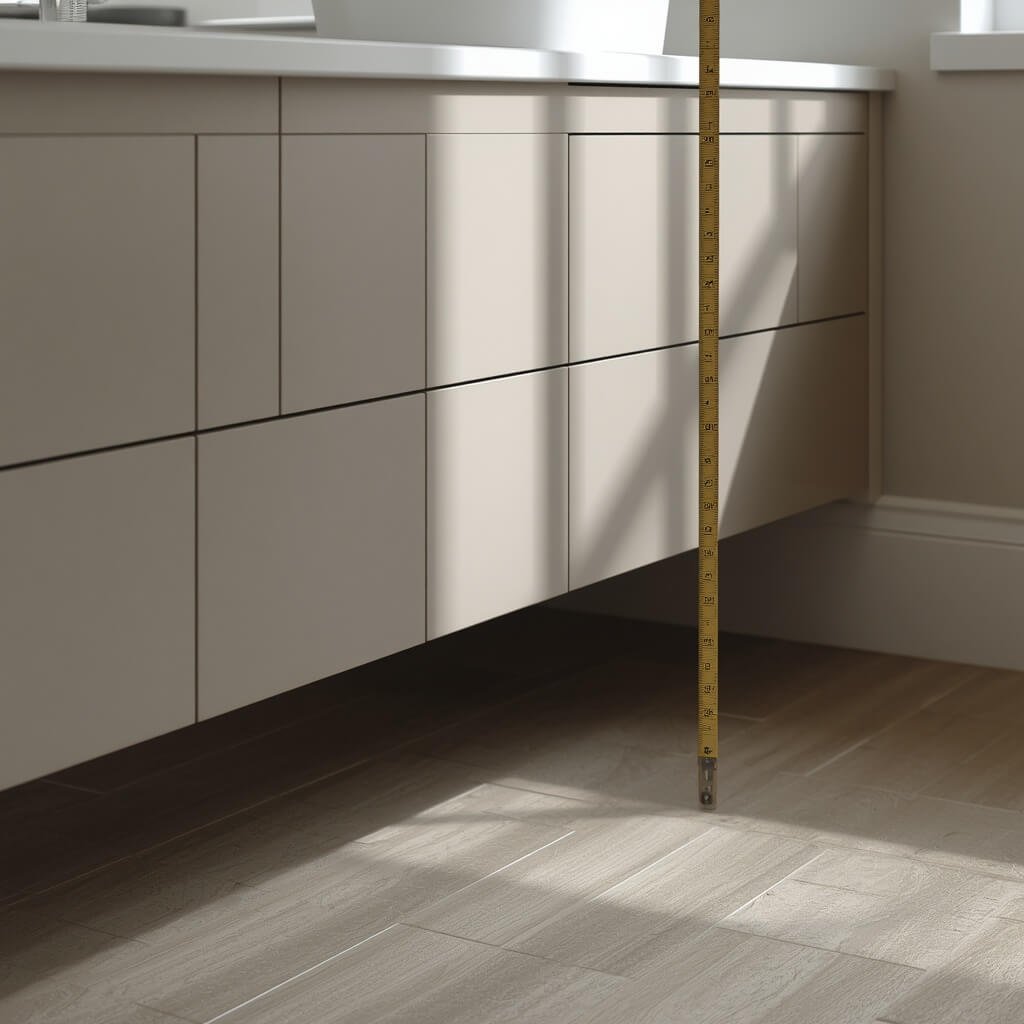
Under ADA Section 606.3, the front of the higher of the lavatory rim or countertop surface must be 34 inches maximum above the finished floor. This measurement is important when choosing a vanity, sink, and countertop combination.
The finished floor is the surface people walk on after the flooring installation is complete. Measuring from an unfinished subfloor can produce an inaccurate result.
For additional guidance on standard vanity dimensions, read our guide to common bathroom vanity sizes and dimensions.
How Do You Measure the Correct Height?
Use these steps when checking a proposed vanity installation:
- Identify the finished floor level.
- Measure vertically from the floor to the front edge of the countertop.
- Measure ADA bathroom vanity height to the highest point of the sink rim or countertop, whichever is higher.
- Confirm that the final measurement does not exceed the applicable limit.
- Check the sink’s shape and installation details before ordering the cabinet.
For example, a countertop positioned 33 inches above the finished floor falls within the 34-inch ADA height limit. However, the sink, faucet controls, and required clearance must also meet the applicable accessibility standards.
Is a Standard Bathroom Vanity Automatically Accessible?
No. Many standard vanities include enclosed cabinets, drawers, or decorative panels beneath the sink. These features can obstruct the space needed for a wheelchair user’s knees and feet.
An accessible design may use an open area beneath the sink or another configuration that provides the required clearance. The finished installation—not simply the product description—determines whether the applicable requirements are met.
How Much Knee and Toe Clearance Does an Accessible Vanity Need?
Knee and toe clearance allows a wheelchair user to approach the sink from the front without the cabinet preventing access. ADA Section 306 establishes the technical measurements for these spaces.
The required dimensions depend on the height and depth of the area beneath the fixture.
Knee Clearance Measurements
Under the general requirements in Section 306.3:
- Width: At least 30 inches.
- Height: The knee-clearance area extends from 9 inches to 27 inches above the finished floor.
- Depth: At least 11 inches at 9 inches above the floor and at least 8 inches at 27 inches above the floor, where the required clear floor space calls for knee clearance.
- Depth adjustment: The permitted clearance can reduce as the space rises, according to the standard’s specified geometry.
These measurements describe the required clearance profile rather than a single rectangular opening. The detailed figures in the ADA Standards should be consulted before finalizing a cabinet design.
Toe Clearance Measurements
Toe clearance provides room for the front of a wheelchair user’s feet beneath the fixture. Under Section 306.2, the relevant area is between the finished floor and 9 inches above it.
The standard specifies a minimum width of 30 inches and a minimum depth of 17 inches when toe clearance is required as part of the clear floor space. The maximum permitted depth is 25 inches.
What Should You Keep Out of the Clearance Area?
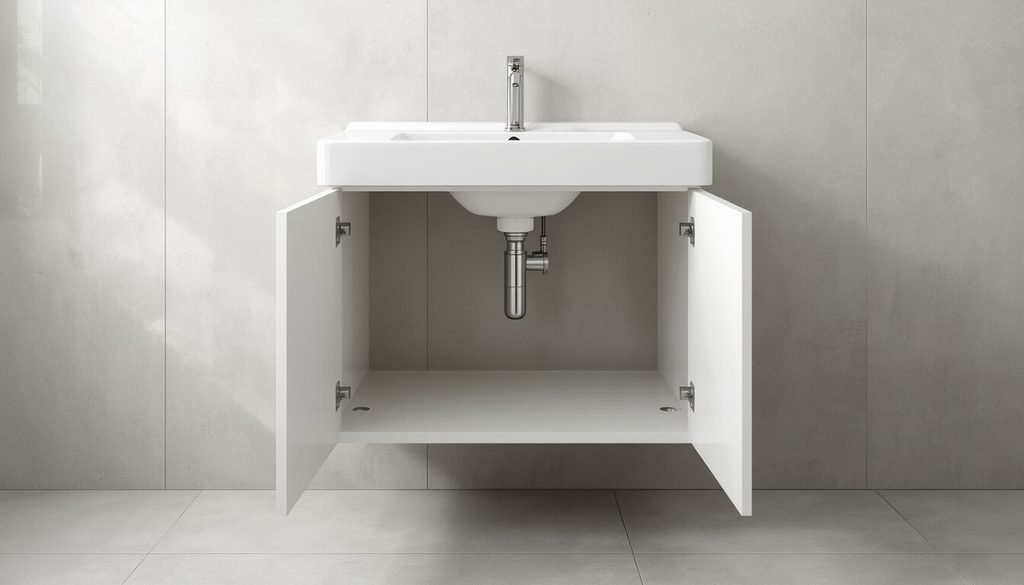
Avoid cabinet doors, fixed shelves, decorative panels, or other components that could obstruct the required wheelchair clearance beneath an accessible vanity.
Before purchasing a vanity, review its dimensioned drawings instead of relying only on product photos. A cabinet may look open from the front but still have shelves or supports that limit usable space. For more planning advice, explore our guide to standard bathroom vanity depth to understand how vanity dimensions affect bathroom layout.
What Is the Required Clear Floor Space in Front of a Bathroom Vanity?
ADA Section 305 generally specifies a clear floor space measuring at least 30 inches wide by 48 inches long. For an accessible lavatory, Section 606.2 requires this space to be positioned for a forward approach, with the applicable knee and toe clearance provided.
This area gives a wheelchair user room to position themselves in front of the sink.
How Should You Plan the Approach Area?
Measure the available floor space in front of the vanity, taking account of nearby walls, doors, and other fixtures. Check whether an open door or another obstruction would interfere with the required space.
The floor space must remain usable. A towel basket, freestanding storage unit, or decorative bin can make an otherwise suitable layout harder to access.
Some clearances can overlap where the standards permit it, but you should not assume that every required space can overlap another. Review the applicable provisions for the bathroom layout.
Can an ADA Bathroom Vanity Have Cabinets Under the Sink?
Whether a cabinet can remain beneath an accessible sink depends on the type of facility and the applicable standards.
For lavatories covered by the general accessibility provisions, the required knee and toe clearance must be maintained. A fixed cabinet that blocks this space can prevent the installation from meeting those requirements.
Are Removable Cabinets Allowed in Residential Bathrooms?
The 2010 ADA Standards include a specific exception for cabinetry under lavatories and kitchen sinks in residential dwelling units. The cabinetry must be removable without removing or replacing the fixture, the finished floor must extend beneath it, and the surrounding walls must be finished.
This exception has defined conditions and should not be treated as permission to install any cabinet beneath any accessible sink.
If you are renovating a private home, verify which residential accessibility standards and other applicable requirements govern your project. A removable cabinet may be useful where the relevant rules permit it, but the details matter.
What Are the ADA Requirements for Faucets and Exposed Plumbing?
An accessible vanity should allow people to operate the faucet without unnecessary difficulty or risk of injury.
Under Section 606.4, faucet controls must comply with Section 309. That section addresses accessible operable parts, including their operation and location.
What Should You Check When Choosing a Faucet?
- Ease of operation: Select controls that can be used in accordance with the applicable operability requirements.
- Reach and placement: Confirm that the controls are positioned within the relevant reach requirements.
- Metering faucets: Hand-operated metering faucets must remain open for at least 10 seconds under Section 606.4.
- Installation details: Follow the manufacturer’s instructions and verify that the installed fixture meets the applicable standards.
A faucet may be attractive and easy to use for some people but still require careful evaluation for accessibility.
How Should You Protect Pipes Beneath the Sink?
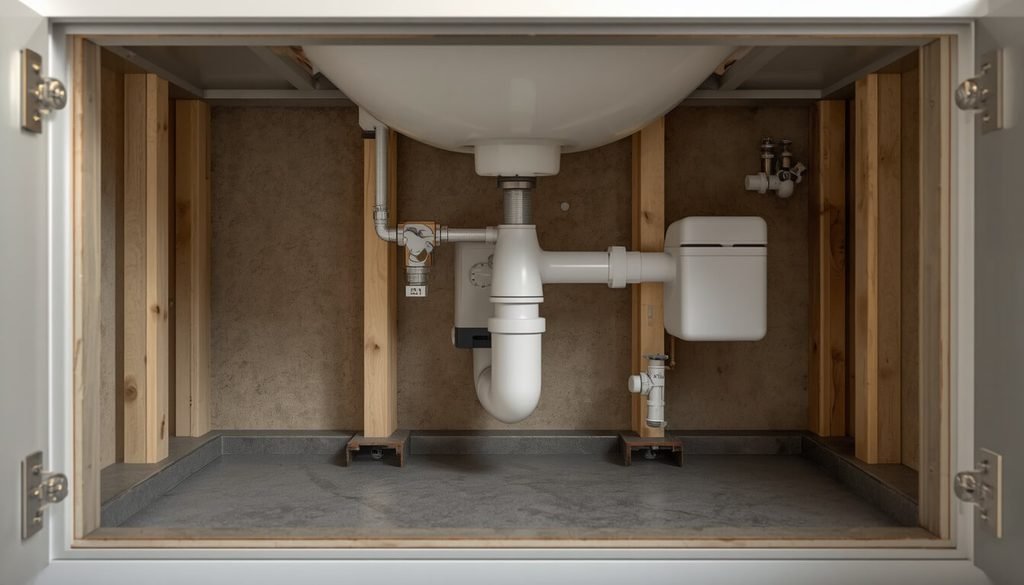
Section 606.5 requires exposed water supply and drainpipes beneath lavatories and sinks to be insulated or otherwise configured to protect users from contact. The area must also be free of sharp or abrasive surfaces.
This matters because a wheelchair user may bring their legs into the space beneath the basin. Exposed hot-water pipes or rough edges can create a risk of injury.
Use suitable pipe insulation and protective coverings, then inspect the completed installation to ensure the plumbing remains safely covered. When choosing materials for your vanity area, explore our guide to bathroom vanity backsplash materials for ideas on creating a practical and easy-to-maintain space.
Where Should You Install a Mirror Above an Accessible Vanity?
Mirror placement can affect whether people can use the bathroom comfortably. A mirror positioned too high may be difficult for a seated user to see.
Under ADA Section 603.3, mirrors must meet specified mounting-height requirements. When a mirror is located above a lavatory or countertop, the bottom of the reflecting surface must be no more than 40 inches above the finished floor. For mirrors that are not above a lavatory or countertop, the bottom of the reflecting surface must be no more than 35 inches above the finished floor.
These measurements refer to the bottom of the reflective surface, not necessarily the bottom edge of the frame.
What Else Should You Consider?
Check the mirror’s frame dimensions, lighting, and mounting position. Make sure the mirror provides useful visibility without creating an obstruction.
The mirror should work with the accessible sink and the surrounding layout rather than being positioned solely for decorative symmetry.
How Do You Choose an Accessible Bathroom Vanity?
A suitable vanity should fit the available room while meeting the applicable accessibility requirements. The right product depends on the sink design, cabinet structure, plumbing arrangement, and installation space.
Before purchasing, compare these features:
- Finished height: Confirm the countertop and sink rim will meet the applicable height limit.
- Open space beneath the sink: Review the knee and toe clearance dimensions.
- Approach space: Ensure the required clear floor space can be provided in front of the lavatory.
- Plumbing layout: Check where the drain and supply lines will sit and how they will be protected.
- Faucet usability: Verify that the selected faucet and controls meet the applicable requirements.
- Installation drawings: Request technical dimensions, not just product photographs.
- Maintenance access: Plan for routine plumbing repairs without compromising the required clearance.
If a vanity is being installed in a covered public or commercial facility, have the proposed layout reviewed against the applicable standards before construction begins.
What Mistakes Should You Avoid When Planning an ADA Bathroom Vanity?
Small measurement errors can cause problems after installation. Planning the cabinet, sink, faucet, and surrounding floor space together helps reduce the risk of costly adjustments.
Common mistakes include:
- Measuring from the wrong floor level: Always use the finished floor as your reference point.
- Ignoring the sink rim: Measure to the higher of the sink rim or countertop surface.
- Choosing a cabinet that blocks knee space: Check the actual clearance beneath the sink.
- Overlooking the approach area: Make sure the required clear floor space is available.
- Leaving pipes exposed: Protect plumbing against contact and sharp surfaces.
- Assuming all residential bathrooms follow identical rules: Confirm which standards apply to your building and project.
- Relying only on product labels: Verify the dimensions of the complete installation.
A careful review before purchasing is generally easier than modifying a vanity after the countertop and plumbing have been installed. For more design inspiration, explore our guide to sage green bathroom vanity ideas to see how vanity style can complement your bathroom design.
Final Thoughts on ADA Bathroom Vanity Requirements
Accessible vanity planning involves several connected measurements. The countertop height, clear floor space, knee and toe clearance, faucet controls, and protected plumbing all contribute to a usable sink area.
Start by identifying the standards that apply to your project. Then check the manufacturer’s technical drawings, measure the finished installation space, and verify the complete layout before ordering the vanity.
For projects covered by the ADA, use the official standards as the primary reference rather than relying on general design advice. Where building type or local requirements are unclear, consult a qualified accessibility professional or the relevant building authority.
Getting these details right helps create a bathroom that is more practical to use and easier to plan with confidence.
FAQs
1. Which ADA Accessibility Rules Apply to Bathrooms in 2026?
Applicable ADA rules depend on the building and type of facility. Requirements may cover accessible routes, sink height, wheelchair clearance, grab bars, and controls. Check the standards that apply to your project.
2. What Features Does a Bathroom Need for ADA Accessibility?
An accessible bathroom may need enough space for wheelchair movement, a properly positioned sink, usable faucet controls, and protected plumbing. Other features depend on the facility and applicable standards.
3. How Can You Recognize an Accessible Bathroom Layout?
1. Which ADA Accessibility Rules Apply to Bathrooms in 2026?
Applicable ADA rules depend on the building and type of facility. Requirements may cover accessible routes, sink height, wheelchair clearance, grab bars, and controls. Check the standards that apply to your project.
2. What Features Does a Bathroom Need for ADA Accessibility?
An accessible bathroom may need enough space for wheelchair movement, a properly positioned sink, usable faucet controls, and protected plumbing. Other features depend on the facility and applicable standards.
4. Is There a Required Front-to-Back Measurement for an ADA Vanity?
The ADA Standards do not set one universal minimum depth for every vanity. The chosen design must accommodate the required approach space, knee clearance, and toe clearance at the accessible sink.
5. Which Measurements Help Make a Bathroom Vanity ADA-Compliant?
Key considerations include a maximum sink rim or countertop height of 34 inches above the finished floor, required wheelchair clearance, accessible faucet controls, and protection for exposed plumbing.
6. Can You Install a Very Shallow Vanity in an Accessible Bathroom?
A shallow vanity may be suitable, but its depth alone does not determine compliance. Check the sink dimensions, faucet placement, wheelchair approach, and all applicable accessibility requirements before installation.
About the Author — Bilal Khan
Bilal Khan writes informational articles about bathroom design, vanity dimensions, and practical home improvements. He focuses on clear measurements, accessible design principles, and reliable guidance to help readers make informed decisions when planning their homes. His content draws on research and recognized standards to explain important design considerations in simple language.